etsy mini

Showing posts with label needle felting. Show all posts

Monday, 2 June 2014

Felt art in monochrome !

I thought I would share this challenge with you (and it WAS a challenge). I belong to an art team on etsy who are setting monthly challenges. This month was to create a piece in monochrome. As you know this means using variations on only one colour. Anyone who is familiar with my work will realise how hard this was for me.
The obvious choice is black, white and grey but that would be too gloomy for me so I settled on orange. Here is my colour palette
I sketched a simple landscape for my design and needle felted the fibres loosely in to place. I found it tricky getting enough contrast for different elements to be clear so added silk fibres to help.
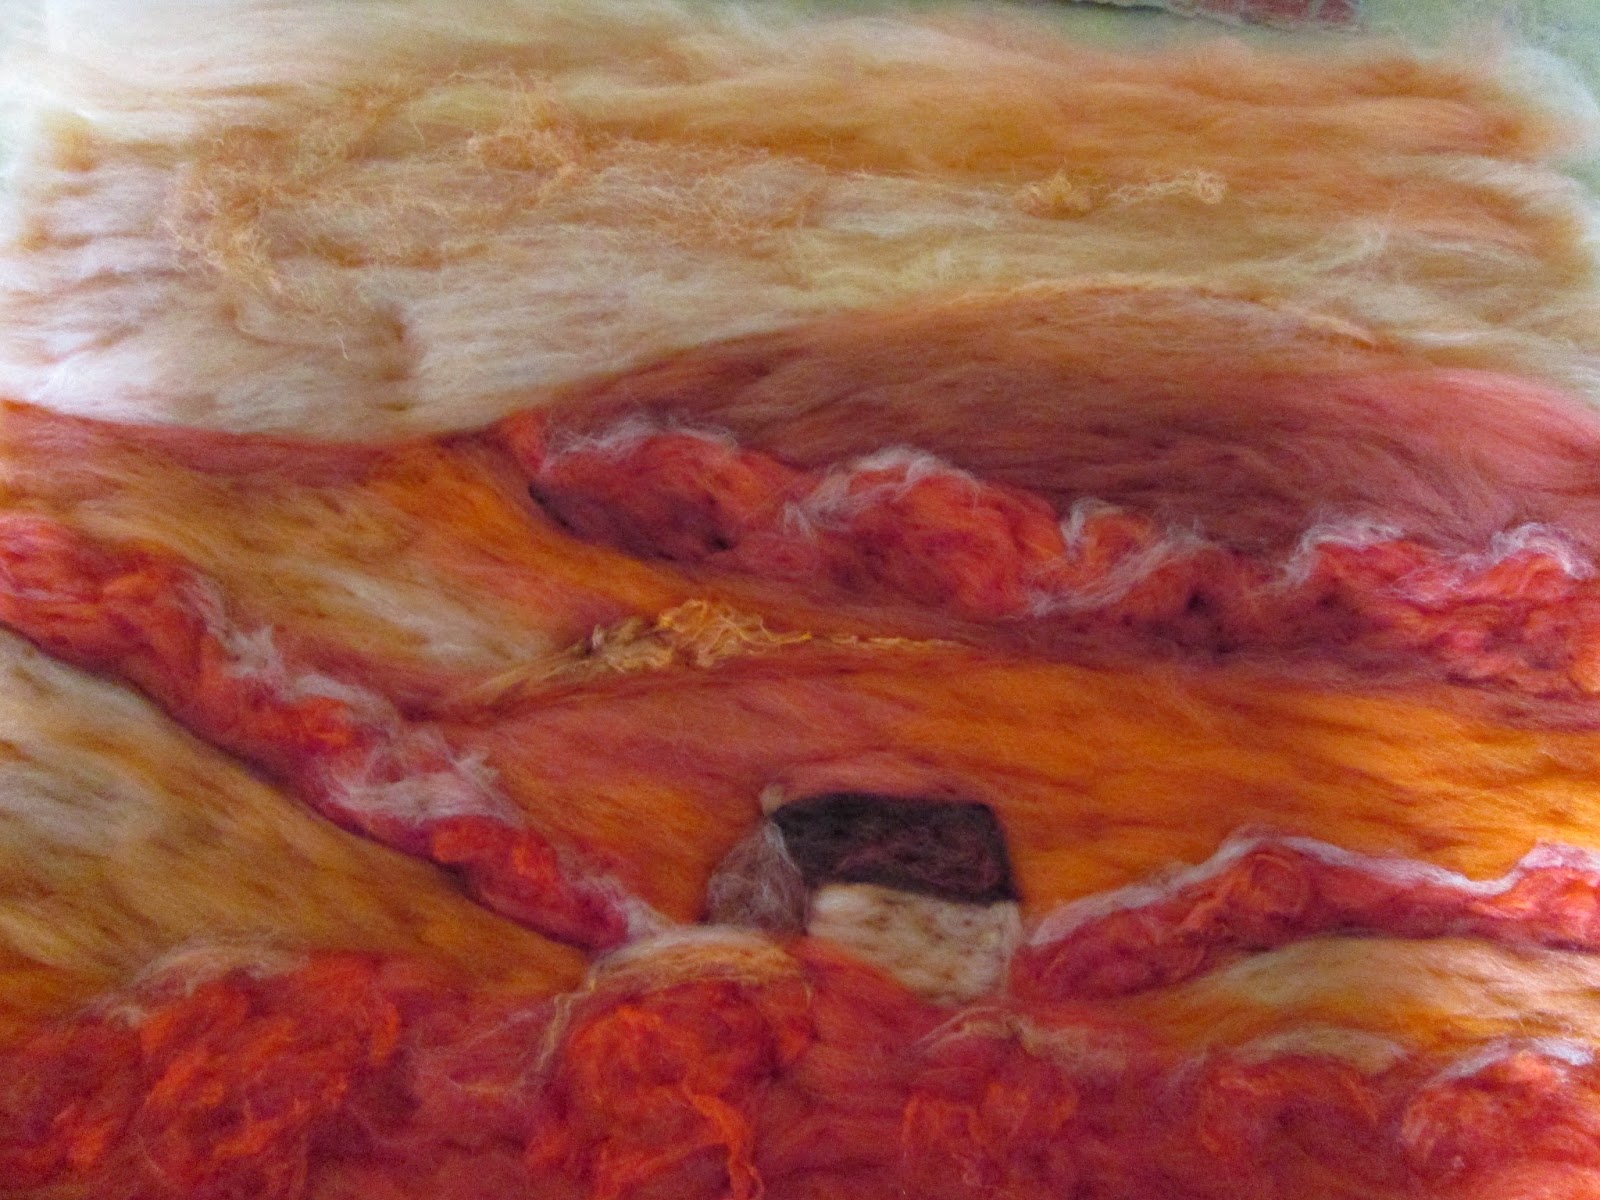
The next stage was to wet felt which ,of course, tends to blend colours together so did not help with making a clear image. Happily the final stage of adding stitching did help to define things and this is the finished piece.
I must admit I did miss being able to use black thread in the stitching and am almost certain that I won't be repeating the exercise. I probably did learn something about use of different tones though. Why not try it for yourself?

Sunday, 6 April 2014

Learning how to needle felt with a machine.

Most of you will be familiar with my felt 'paintings'. If not you can click on the etsy mini to take you in to my shop for a browse. In order to achieve such detail I have to needle felt the fibres in to place before wet felting. Up until now I have used a hand needle felting tool like this
I only 'tack' the fibres enough to hold them in place and then wet felt to make a strong fabric. Needle felting by hand takes a great deal of time  and does not do my somewhat delicate back any favours so I invested in a needle felting machine which looks like this
I assumed that it would do the same job as the hand tool but faster - wrong!
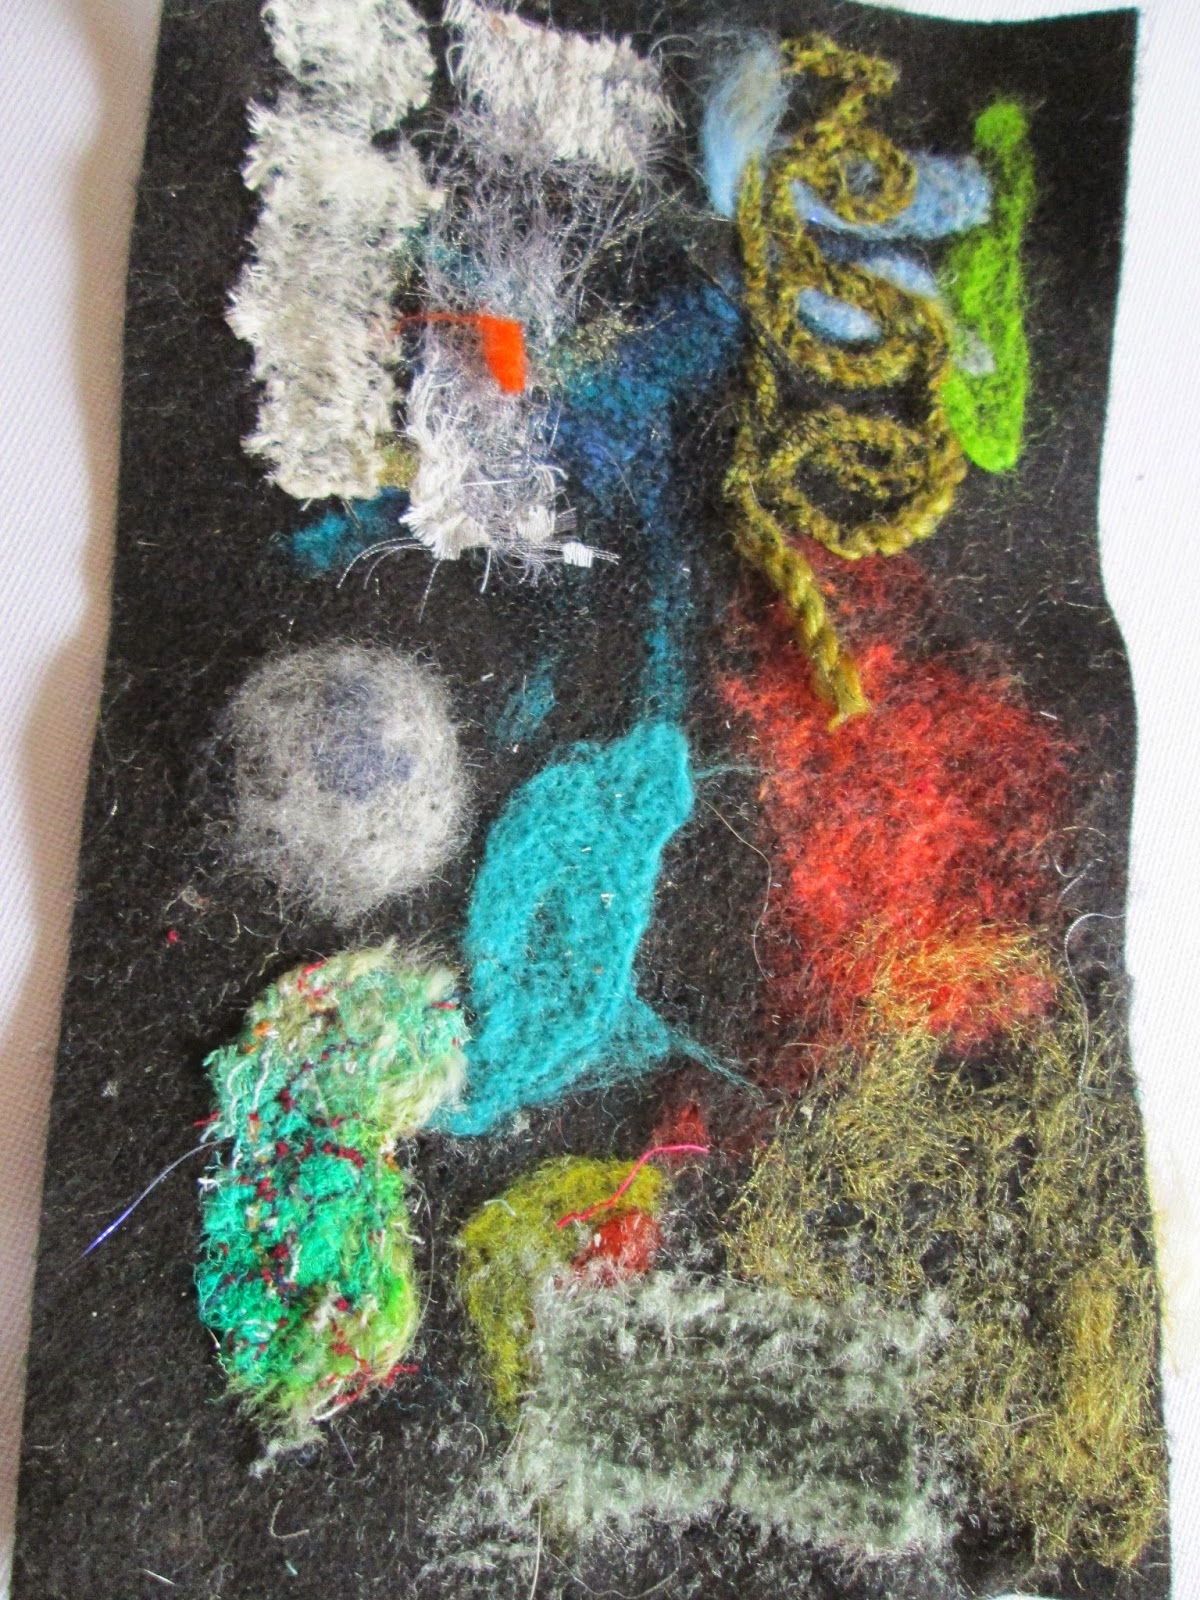
I can't felt layers of wool fibre together without a fabric backing. It may be possible but I haven't worked it out yet. However it is possible to integrate fabrics more fully into the felt. I even needle felted a silk carrier rod in to a piece of felt! Here are some of my first trials
The silk carrier rod is at the top left and as you can see it is bedded right down in the fabric. The splatter of gold at the bottom right was gold organza. I needle felted it so much that it actually broke up! I do think even that has possibilities though. It might look good in a sunset.
I also tried different yarns on a scrap piece of felt. I wanted to use them for grasses in a picture.
The yarn on the right was made from spun sari silk and very dense. It did not felt very well and to be honest I was worried about breaking the needles. The middle yarn is made from silk and felted in quite well. The one on the left is actually a piece of scrim and was really good as I wanted to make a picture with grasses in the background. It's not finished yet but I will show you when it is.

Next I decided to take a large piece of calico and see how different fabrics and fibres reacted. I tried all sorts of things with variable success. I then thought that this may be a good method for making original cards and decided on a heart motif. Unfortunately I needle felted a hole in the background felt fabric!
I also tried a small landscape card which was not very successful. In the photo above you can see my experiments.
Lastly I tried making two contrasting fabrics and cutting heart shapes out of one to apply on the other. This was a lot more successful and I made them in to cards which I listed in my etsy shop. A pack of 6 sold straight away and I only have singles left. I have ordered more card blanks because I think they will do well at craft fairs.
I will continue to experiment and keep you updated on my progress.

Monday, 20 February 2012

tree picture complete at last


I've now completed my tree picture. Here are some photographs of it. I needle felted a very simple background and then added the tree with silk for highlights this was all wet felted together and a little stitching added when it was dry. I also took a 'photo in black and white which looks quite weird!
This piece will be in an exhibition at the Welsh Botanical Gardens at the beginning of March. I have called it Flaming Glory.


Wednesday, 1 February 2012

summer riot

Hello Everyone. I've recently had lots of people asking how my felts are made so I thought I would tell you the stages involved in making my latest piece which is called Summer riot and shown above.
The first thing I did was create the flower shapes. I did this by needle felting each flower separately. Some of them were felted with solid colour and some had different shades in them which I had to card first. This took quite some time as there are 43 different flowers. Next I added the black centre to each one.
Afterwards I placed the flowers on a blank artists canvas and rearranged them many times until I was happy with them.
Once I knew where each colour would fall on the canvas I could make the background. I started with some semi felted fabric which acts as a blank piece of 'paper'. I wanted to graduate the colours from light at the top to very dark at the bottom and also from warm red at the right and a colder blue on the left so I carefully laid out my fleece. Where colours would meet I carded a little of each together so that there would be no hard join.As I wanted the white area to really stand out I added some silk fibres which would give that area a shine when complete. These fibres have to be arranged on top of the wool fibres and trapped with a very fine 'cobweb' of more woolen fibres.
The next stage was to place my flowers on to the base and , of course, at this stage I decided that I was not quite happy with the outcome and had to move them around some more.At last all the ground work was done!
To secure these layers the whole thing has to be wet felted, being very careful not to move the design around as once the wet felting is complete there is no going back. When the felt was dry I decided to add some stitching to add more texture and make the flowers in the centre stand out more. I machine stitched around some of the flowers and added some shading in the centre. Later I added highlights to some of the black centres by hand with a silver thread.
In all the whole process took three days!