etsy mini

Wednesday 23 April 2014

Using Wensleydale locks in felt art

Last time I told you how to prepare raw wool for felt making and demonstrated with some Wensleydale locks. I thought I would show you what I have used them for. If you look in the picture you can see twiddly lines on the ground and curls in the tree foliage at the top of the picture.
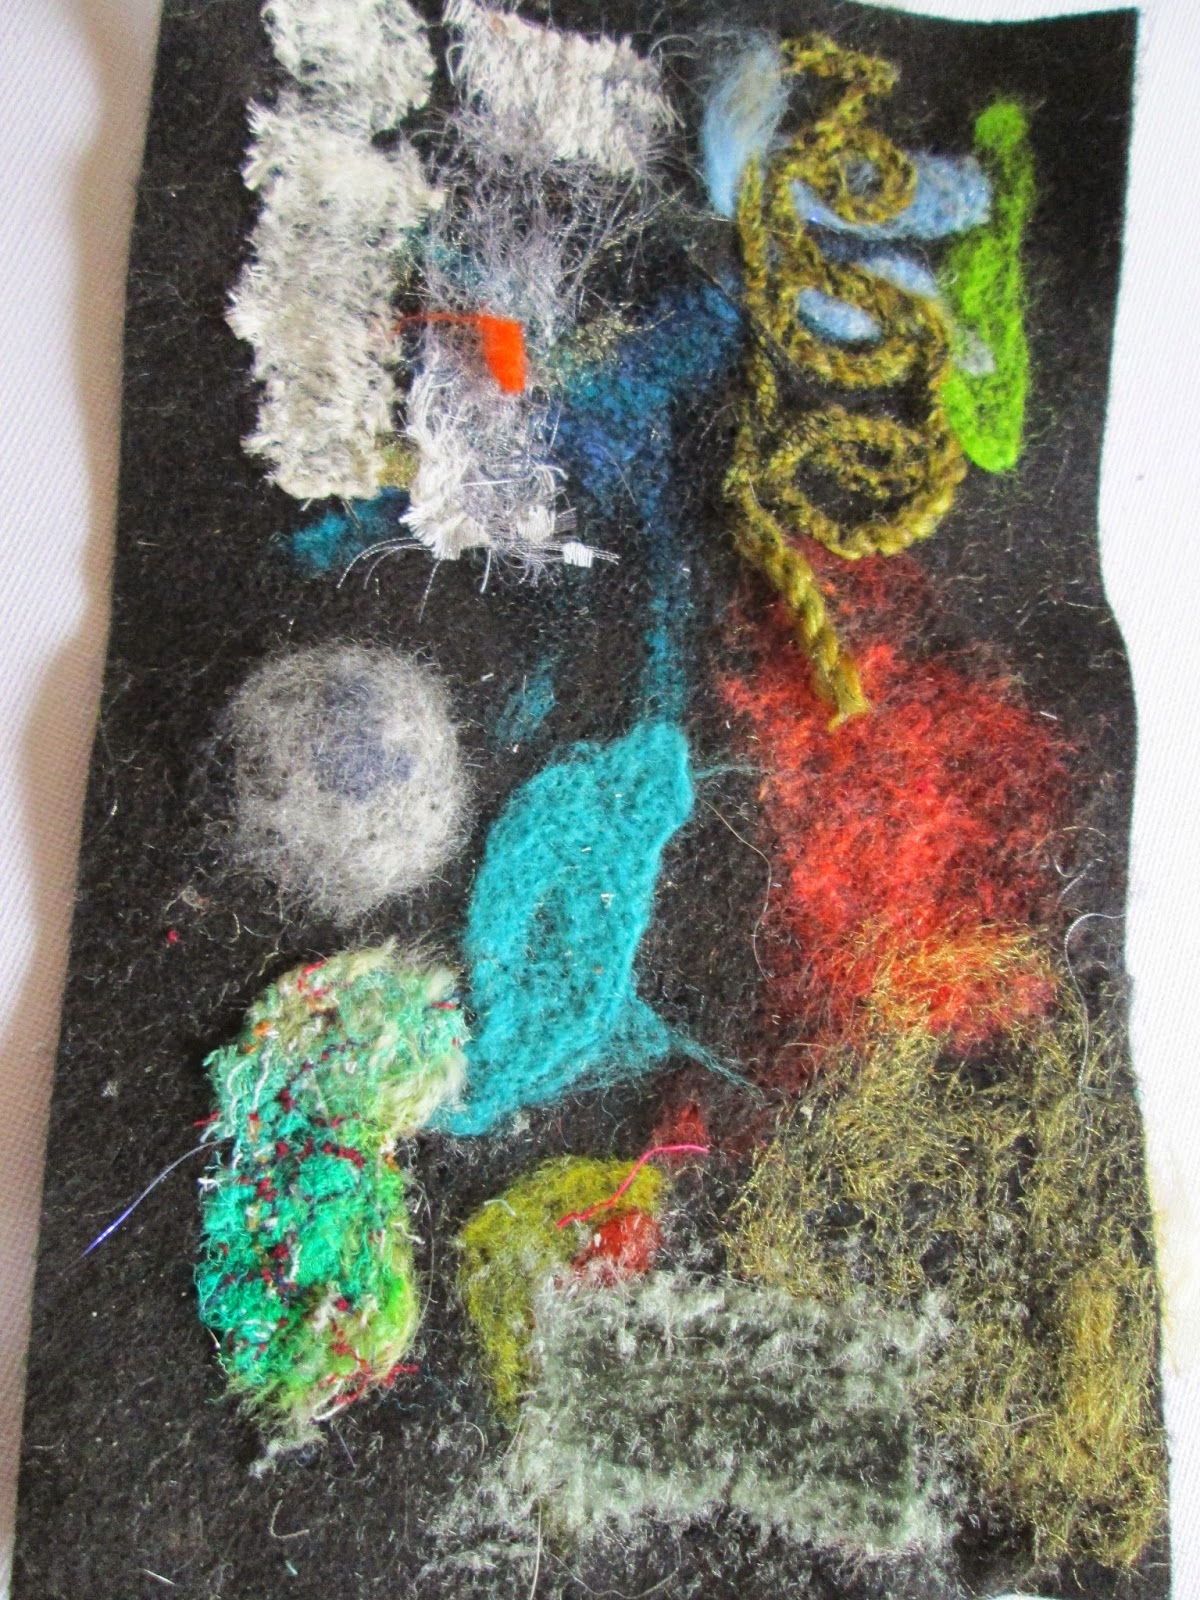
That is the Wensleydale locks. They add extra texture and interest and can be used in all sorts of artwork. To see close up photographs of this picture click on the etsy mini which will take you to my shop.

Thursday 17 April 2014

How to prepare wool for felting.

I usually buy merino already washed and dyed to make my felt pictures but occasionally want to add texture with different fibres. I was able to source a Wensleydale fleece directly from the farmer and decided to dye some of it to use. Wensleydale sheep have naturally curly fleece which can be great for hedges and foliage in a landscape.
It is quite time consuming and it occurred to me that some felt makers may not know how to do it so I am giving the instructions here.
All sheep have a grease called lanolin on their fleece. It is often used as an ingredient in moisturisers and shampoos. Lanolin protects the sheep from wet weather as water will run of off a greasy fleece and not be absorbed in to the fibres. This is great for the sheep but not for us felters! The Lanolin must be removed before dying as it stops the dye from being absorbed. This is how the raw fleece looks.
The lanolin causes the yellow discolouration that you can see and a distinct sheepy smell. Some fleeces will also contain bits of straw and other debris. They will all be dirty as the sheep has been wearing them for a year!
Your first job is to pick out any straw, grass, brambles and any other obvious 'bits'. Next you will need to remove the lanolin. You will need a saucepan or metal bucket that will not be used in food preparation. Put enough cold water in it to cover the fleece and add a cleaning agent. Washing up liquid will do at a pinch.
Put the fleece in the pan and begin to heat on a low setting. If it is heated too quickly it may begin to felt. The water will quickly turn a disgusting dirty yellow colour.
Bring to the boil and simmer gently for a few minutes. Then drain away the dirty water and repeat. You will probably have to repeat 3 or 4 times before the water runs clear.
When all of the grease is removed the fleece should smell a lot better and feel and look white and shiny. Now you can dye it. Use an acid dye and follow the manufactures instructions as different brands use slightly different methods.
Here is mine hanging out to dry.
And here is the completed felt.
The hedge next to the cottage is made from Wensleydale as are some of the flowers in the foreground. Here is a close up view.
Happy felting!

Monday 7 April 2014

felt painting of a hare completed!

As promised here is a photograph of the completed hare felt
I did use the needle felting machine to help in the process. After I 'tacked' the fibres down by hand needle felting I used the needle felting machine to really bind everything together securely. I was also able to include some scrim for a few grasses in the background. I wish I'd used more because they look really effective. Then I wet felted. The only problem I had was having to work quite hard at getting rid of the little holes the machine makes. It was easier than usual to wet felt though and saved my back a bit. The other benefit was that the fibres stayed put when I sloshed the soapy water on.
Here is a close up where you can see the embroidered flowers more clearly.

Sunday 6 April 2014

Learning how to needle felt with a machine.

Most of you will be familiar with my felt 'paintings'. If not you can click on the etsy mini to take you in to my shop for a browse. In order to achieve such detail I have to needle felt the fibres in to place before wet felting. Up until now I have used a hand needle felting tool like this
I only 'tack' the fibres enough to hold them in place and then wet felt to make a strong fabric. Needle felting by hand takes a great deal of time  and does not do my somewhat delicate back any favours so I invested in a needle felting machine which looks like this
I assumed that it would do the same job as the hand tool but faster - wrong!
I can't felt layers of wool fibre together without a fabric backing. It may be possible but I haven't worked it out yet. However it is possible to integrate fabrics more fully into the felt. I even needle felted a silk carrier rod in to a piece of felt! Here are some of my first trials
The silk carrier rod is at the top left and as you can see it is bedded right down in the fabric. The splatter of gold at the bottom right was gold organza. I needle felted it so much that it actually broke up! I do think even that has possibilities though. It might look good in a sunset.
I also tried different yarns on a scrap piece of felt. I wanted to use them for grasses in a picture.
The yarn on the right was made from spun sari silk and very dense. It did not felt very well and to be honest I was worried about breaking the needles. The middle yarn is made from silk and felted in quite well. The one on the left is actually a piece of scrim and was really good as I wanted to make a picture with grasses in the background. It's not finished yet but I will show you when it is.

Next I decided to take a large piece of calico and see how different fabrics and fibres reacted. I tried all sorts of things with variable success. I then thought that this may be a good method for making original cards and decided on a heart motif. Unfortunately I needle felted a hole in the background felt fabric!
I also tried a small landscape card which was not very successful. In the photo above you can see my experiments.
Lastly I tried making two contrasting fabrics and cutting heart shapes out of one to apply on the other. This was a lot more successful and I made them in to cards which I listed in my etsy shop. A pack of 6 sold straight away and I only have singles left. I have ordered more card blanks because I think they will do well at craft fairs.
I will continue to experiment and keep you updated on my progress.

Tuesday 1 April 2014

concertina book making tutorial

Last time I showed you some of the journals I have been making and several people expressed an interest in the folded, concertina books with inserts. Here is a short tutorial. My finished book looks like this.
 step one is to prepare your paper. Decide how wide you want your pages to be and how many of them you want. As you are going to be adding pamphlet pages later you don't need masses of folds. For instance if each page is to be 4 inches wide and you want four folds you will need a piece of paper 16 inches long. 
You will probably need to join some pieces of paper together to achieve the length you want. For a first book I would recommend using normal A4 photocopy paper as I did. You can graduate to expensive papers later. To join the paper fold one end of each piece to make a small hinge on both pieces and glue them together .
The second stage is to form the concertina folds. The best way to get even folds is to fold the middle first and work your way out.

Now make your pamphlet pages. These can be the same size or smaller than the folded pages. I chose to make mine smaller so the folded pages made sections with the smaller pages inside. 
Take 3 or 4 pieces of paper and fold each one in half with a good sharp crease. Bookbinders will tell you to use a bone folder to sharpen the crease but for our purposes the back of a spoon does the job. Place the folded sections inside each other and make three holes at equidistant spaces along the fold. Make sure the hole goes through all of your pages. You can use an awl for this or a large needle. You also need to make the holes in the fold of your concertina with the same spacings between them.
Thread a needle with strong thread, linen is good, or embroidery floss works. You can start at the inside of your pamphlet pages or on the outside of the fold. Take the needle through the centre hole of the fold and the pamphlet pages. Next sew back through the top hole and through the centre hole again. Then through the bottom hole and tie the end of your thread to the beginning of it at the centre hole.
This is much easier to do than it sounds written down! Just take one step at a time and do it as you read.
You can add pamphlet pages to every fold on both sides of the concertina if you wish.

Now the fun bit - the cover. You will need two pieces of card or mount board just a little bit bigger than your folded pages. Decorate it in any way you wish. Go to town. If you are a patchworker why not glue a mini quilt to it. You could make a mixed media cover, lino print on to it or a collage as I did. You will think of something personal to you. If the card is fairly floppy I recommend that you stiffen it up with pelmet vilene or gesso. The design only need to be on one side of each cover but try to neaten the edges. As I used fabric I turned the edge of the fabric over the edges and glued it to the other side.
At this stage you should also think of a fastening. As this book has no spine it needs to be fastened when not in use. I used string as I thought it fitted with the naive design of my cover but you could use ribbon or leather thong. This needs to be stitched to the front cover and be long enough to wrap around the whole book and be tied together.
To fix the covers to the pages you simply glue each cover to the first and last pages of your book.
Here is the inside of mine showing the different sized pages.
Have fun!