Hello. I've resurfaced after a multitude of commissions and popped in to say hello. After working frantically for a few weeks I realised that my stock of hand dyed silks and wool neps were becoming very low and those I did have left were so muddled I couldn't find what I wanted.
 This was my pathetic selection.
 Omega acid dyes seem expensive but a little goes a long way. For each of these tubs I uses less than a quarter of a teaspoon of dye granules.
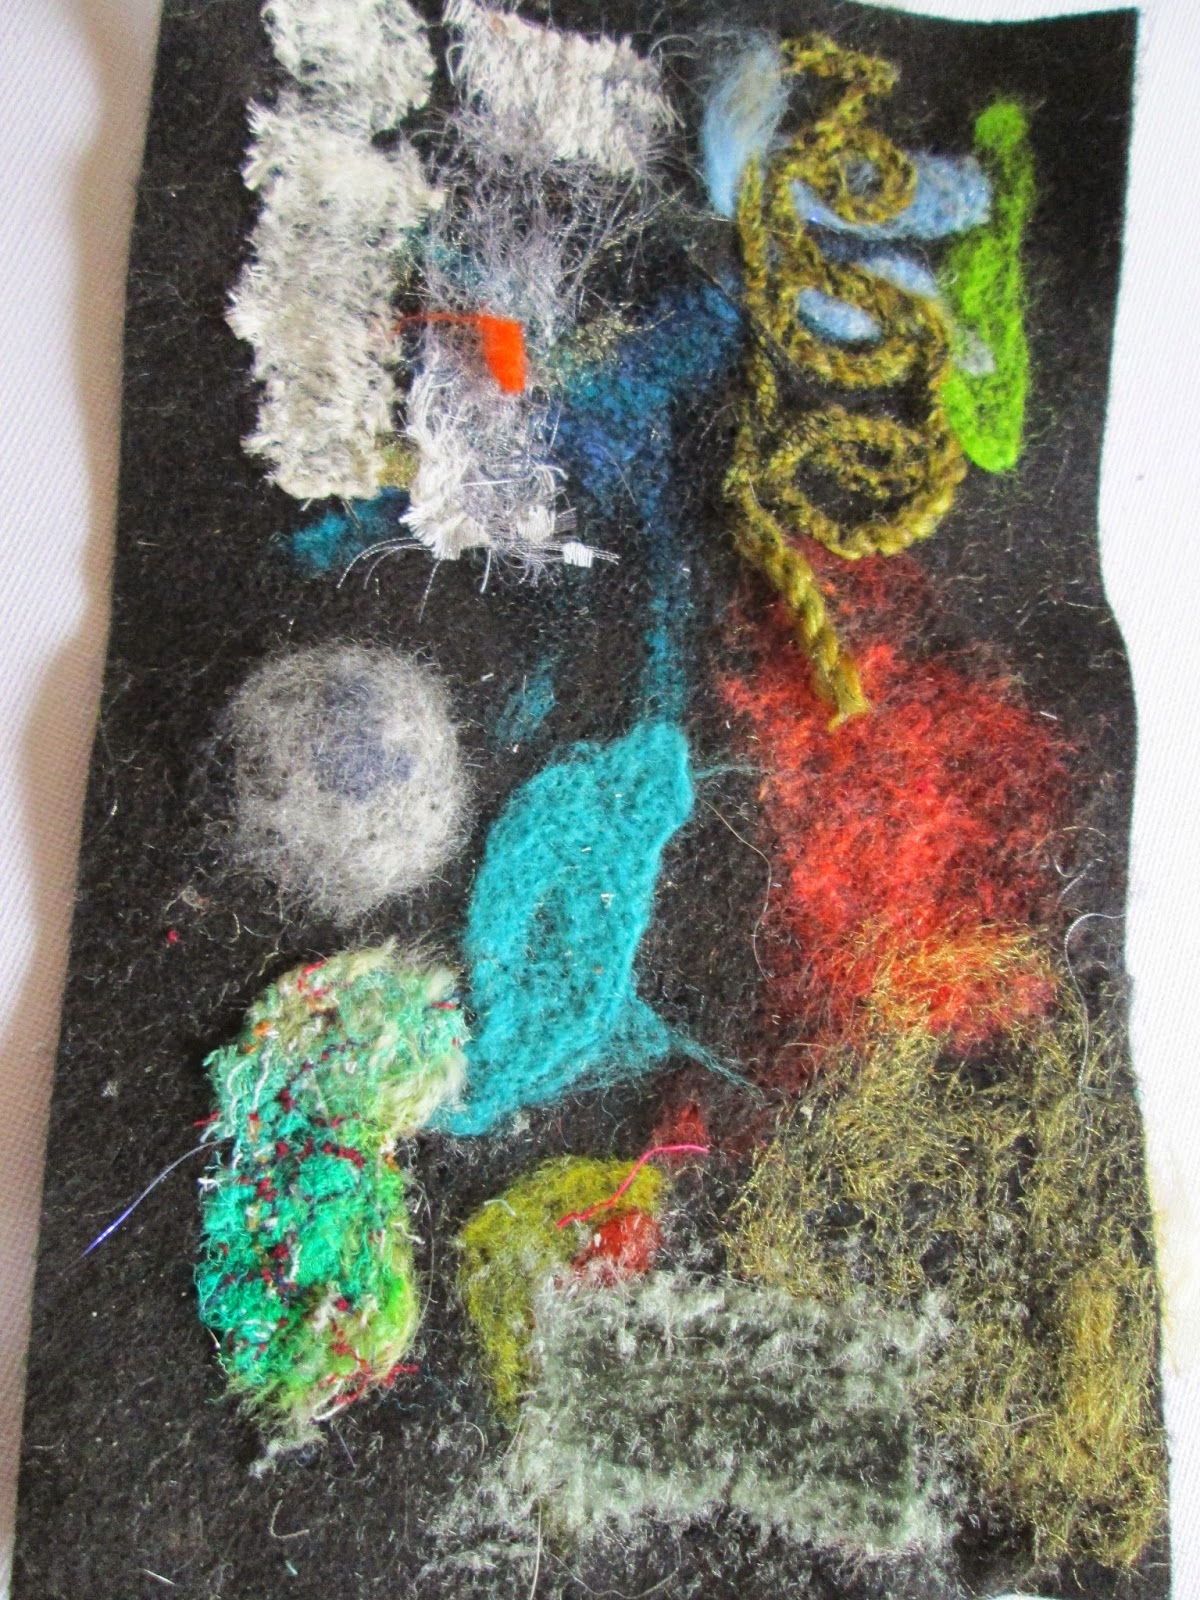
 Now I have this job done I can create some more lovely felt pictures with lots of texture.
This was my pathetic selection.
I decided something had to be done because I use these fibres a lot in my felts. Silks make great additions to dramatic skies as well as providing highlights to plants and landscapes. Wool neps and Wensleydale locks are fantastic to represent flowers and foliage on a small scale.
I sorted out my undyed fibres, my dyes and some plastic containers. The best dyes to use for these fibres are acid dyes. My favourite acid dyes are Omega. They come in crystal form in little pots and you don't have to add any other ingrediants.Because I only dye small amounts at a time I use plastic containers such as old ice cream tubs and dye in the microwave. Not the same one that I cook in though. I sorted out a little of each fibe and put them in different coloured dyes. Different fibres absorb dyes to different degrees so even though I put several different types of silk in the same pot as wool neps and Wensleydale locks they all come out in slightly different shades/
Omega acid dyes seem expensive but a little goes a long way. For each of these tubs I uses less than a quarter of a teaspoon of dye granules.
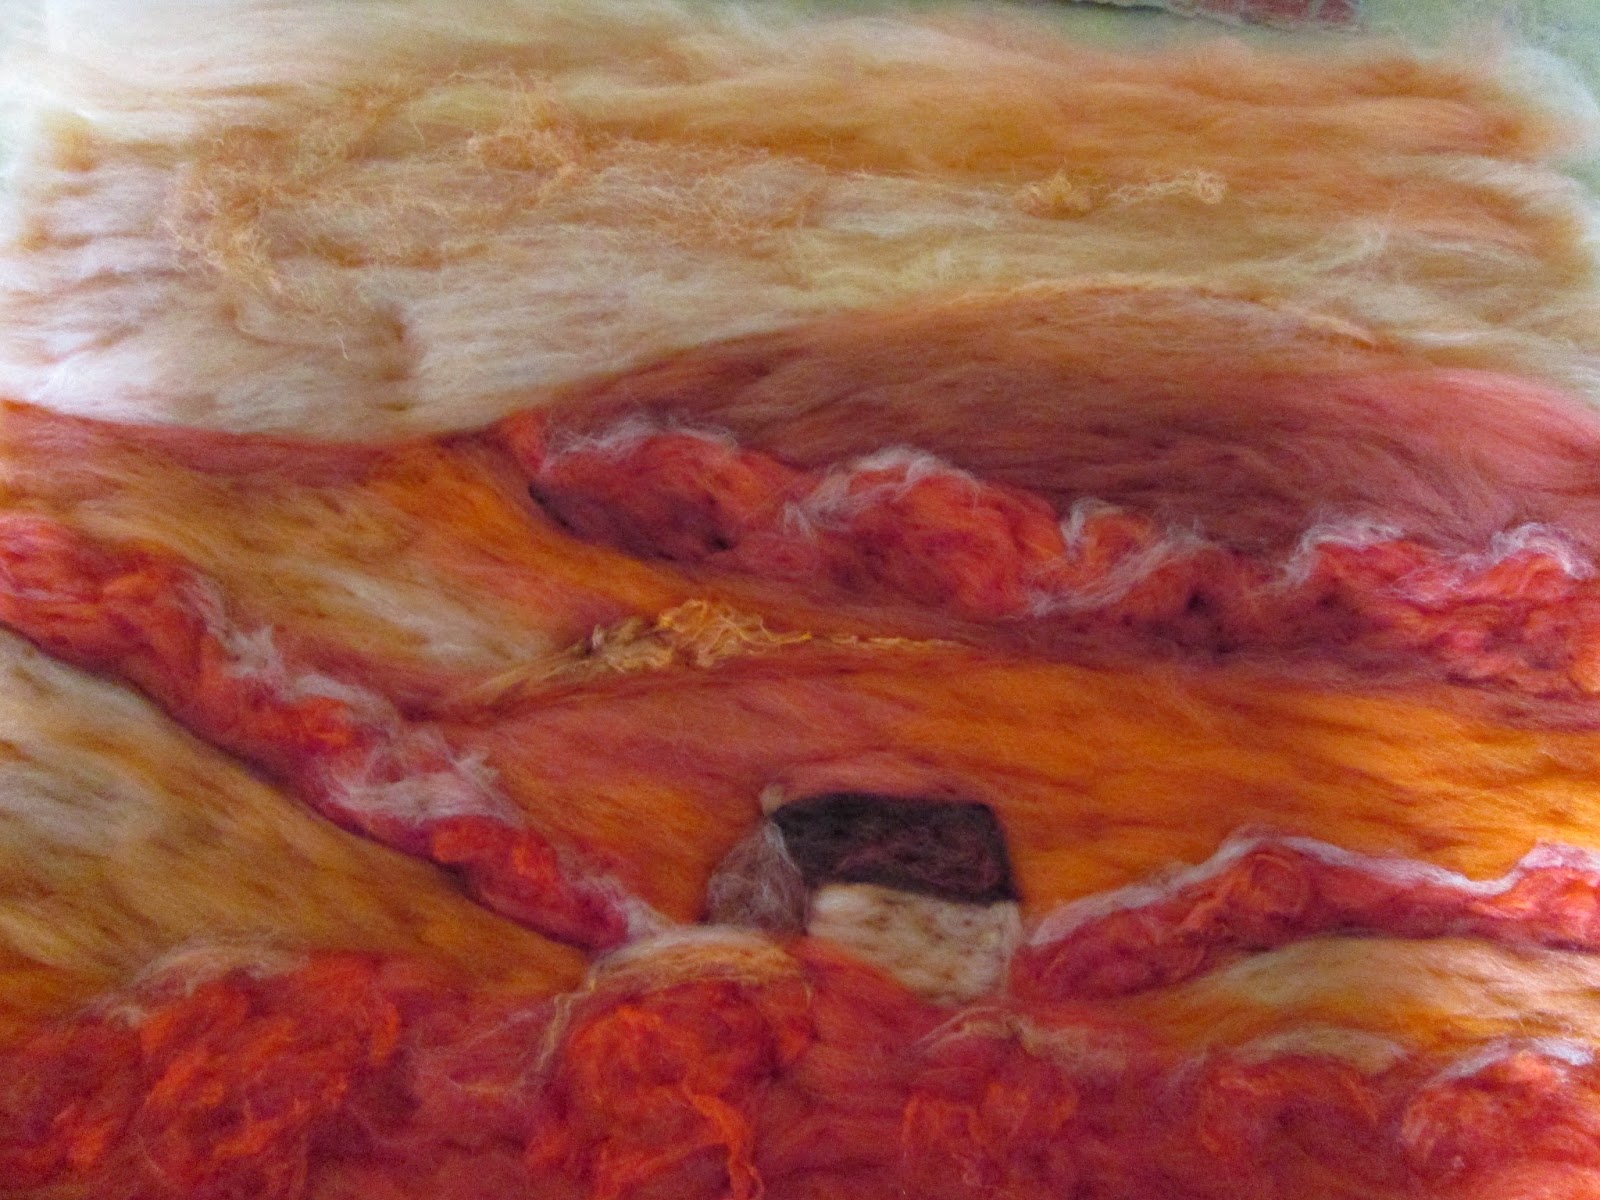
Each tub went in to the microwave for 4 minutes and hey presto my fibres are cooked!
Here they all are drying.
Now I have this job done I can create some more lovely felt pictures with lots of texture.