
Most of you will be familiar with my felt 'paintings'. If not you can click on the etsy mini to take you in to my shop for a browse. In order to achieve such detail I have to needle felt the fibres in to place before wet felting. Up until now I have used a hand needle felting tool like this
 I only 'tack' the fibres enough to hold them in place and then wet felt to make a strong fabric. Needle felting by hand takes a great deal of time and does not do my somewhat delicate back any favours so I invested in a needle felting machine which looks like this
 I assumed that it would do the same job as the hand tool but faster - wrong!
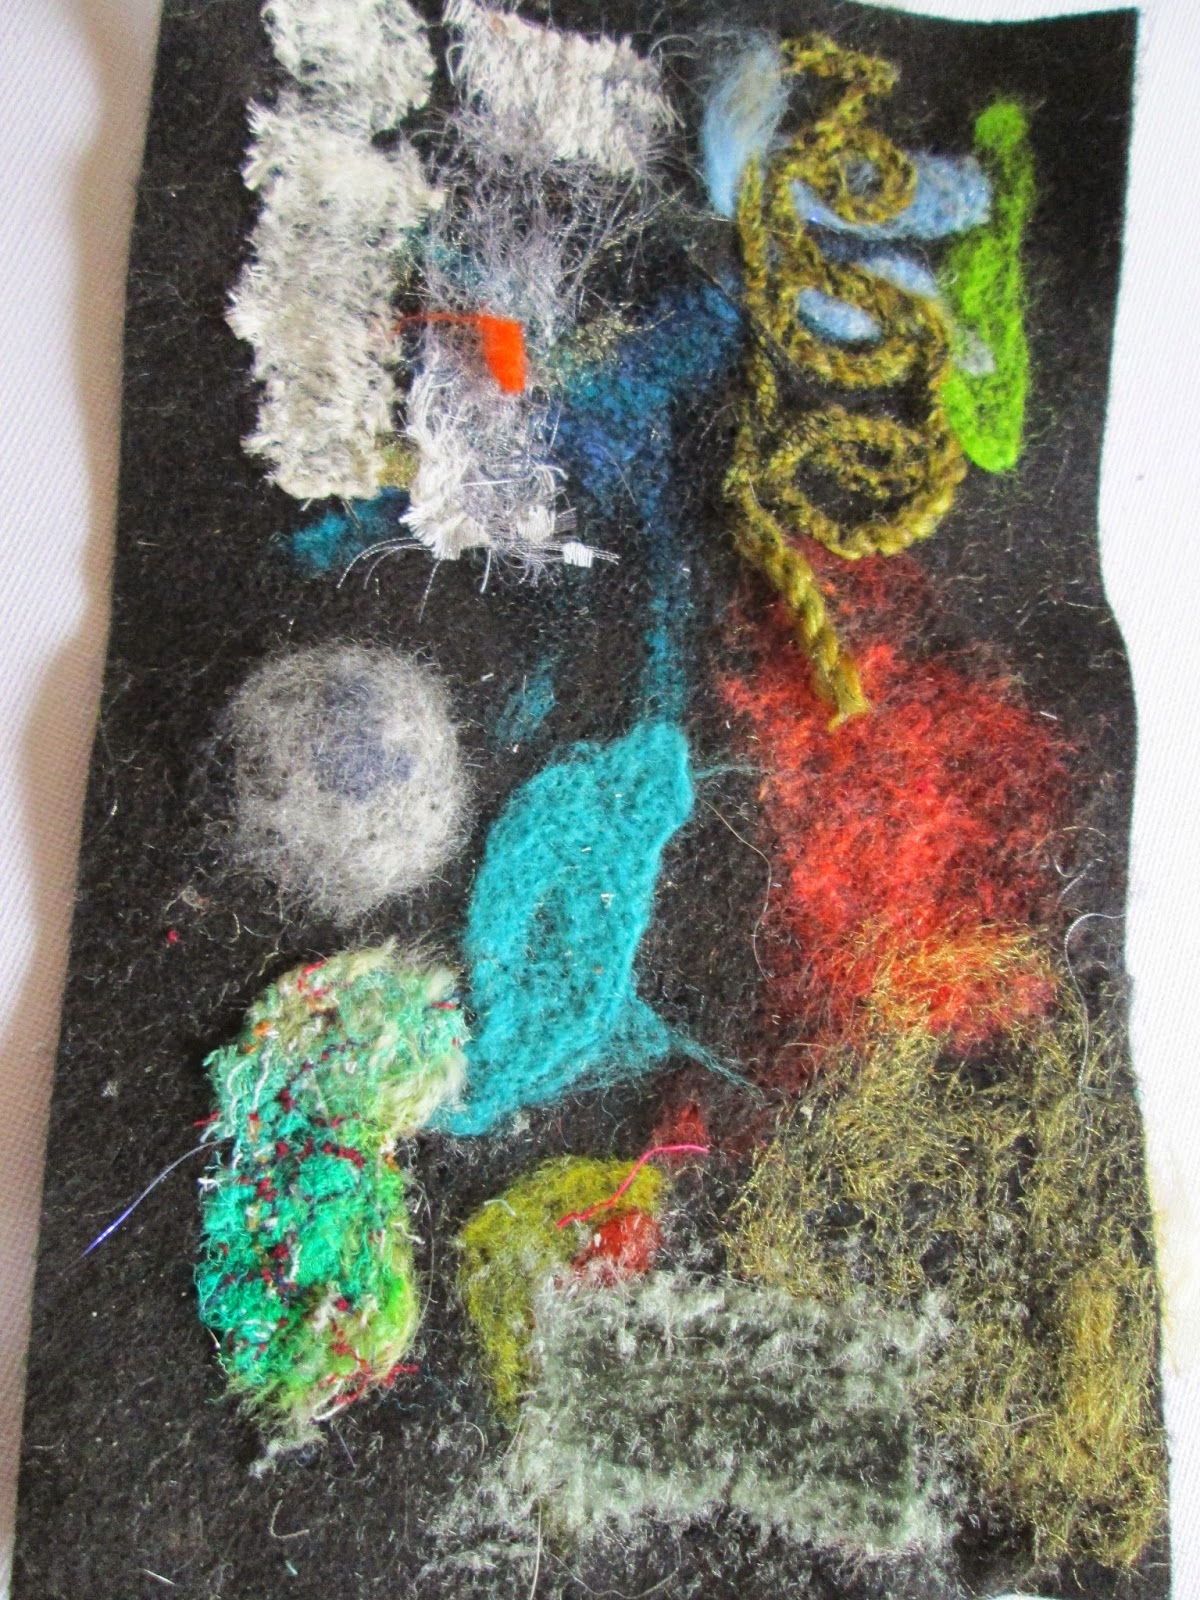 The silk carrier rod is at the top left and as you can see it is bedded right down in the fabric. The splatter of gold at the bottom right was gold organza. I needle felted it so much that it actually broke up! I do think even that has possibilities though. It might look good in a sunset.
 The yarn on the right was made from spun sari silk and very dense. It did not felt very well and to be honest I was worried about breaking the needles. The middle yarn is made from silk and felted in quite well. The one on the left is actually a piece of scrim and was really good as I wanted to make a picture with grasses in the background. It's not finished yet but I will show you when it is.
 I also tried a small landscape card which was not very successful. In the photo above you can see my experiments.
 I will continue to experiment and keep you updated on my progress.
I only 'tack' the fibres enough to hold them in place and then wet felt to make a strong fabric. Needle felting by hand takes a great deal of time and does not do my somewhat delicate back any favours so I invested in a needle felting machine which looks like thisI assumed that it would do the same job as the hand tool but faster - wrong!
I can't felt layers of wool fibre together without a fabric backing. It may be possible but I haven't worked it out yet. However it is possible to integrate fabrics more fully into the felt. I even needle felted a silk carrier rod in to a piece of felt! Here are some of my first trials
The silk carrier rod is at the top left and as you can see it is bedded right down in the fabric. The splatter of gold at the bottom right was gold organza. I needle felted it so much that it actually broke up! I do think even that has possibilities though. It might look good in a sunset.
I also tried different yarns on a scrap piece of felt. I wanted to use them for grasses in a picture.
The yarn on the right was made from spun sari silk and very dense. It did not felt very well and to be honest I was worried about breaking the needles. The middle yarn is made from silk and felted in quite well. The one on the left is actually a piece of scrim and was really good as I wanted to make a picture with grasses in the background. It's not finished yet but I will show you when it is.
Next I decided to take a large piece of calico and see how different fabrics and fibres reacted. I tried all sorts of things with variable success. I then thought that this may be a good method for making original cards and decided on a heart motif. Unfortunately I needle felted a hole in the background felt fabric!
I also tried a small landscape card which was not very successful. In the photo above you can see my experiments.
Lastly I tried making two contrasting fabrics and cutting heart shapes out of one to apply on the other. This was a lot more successful and I made them in to cards which I listed in my etsy shop. A pack of 6 sold straight away and I only have singles left. I have ordered more card blanks because I think they will do well at craft fairs.
I will continue to experiment and keep you updated on my progress.
Oh that machine is just lovely. It is nicer than mine. You don't have to have the fibers that you are felting onto the 'fabric' totally embedded in the fabric. You just need some of the fibers embedded in the fabric. Does that make sense. I still say well done. You have got great things ahead of you.
ReplyDeleteThank you Shirley. Yes that does make sense. I managed to get such a nice machine because I bought it at a show and they had some good special show offers.
DeleteWhat a great new tool for your work! Can't wait to see more!
ReplyDeleteIt is a great tool and I've seen people do some fantastic textile art with it. I'm just not quite sure what I will be doing with it!!!
DeleteHi Sue....think I pressed the wrong button but hope you don't get this twice. I love my machine but you are right different effects. I found using scrim as a base with tops works well as a minimal option and then wet felting. Really look forward to seeing your new creations with your lovely machine.......have fun! Cheers Claire x
ReplyDeleteHi Claire, thank you for that. I have some scrim and will give it a go.
Delete